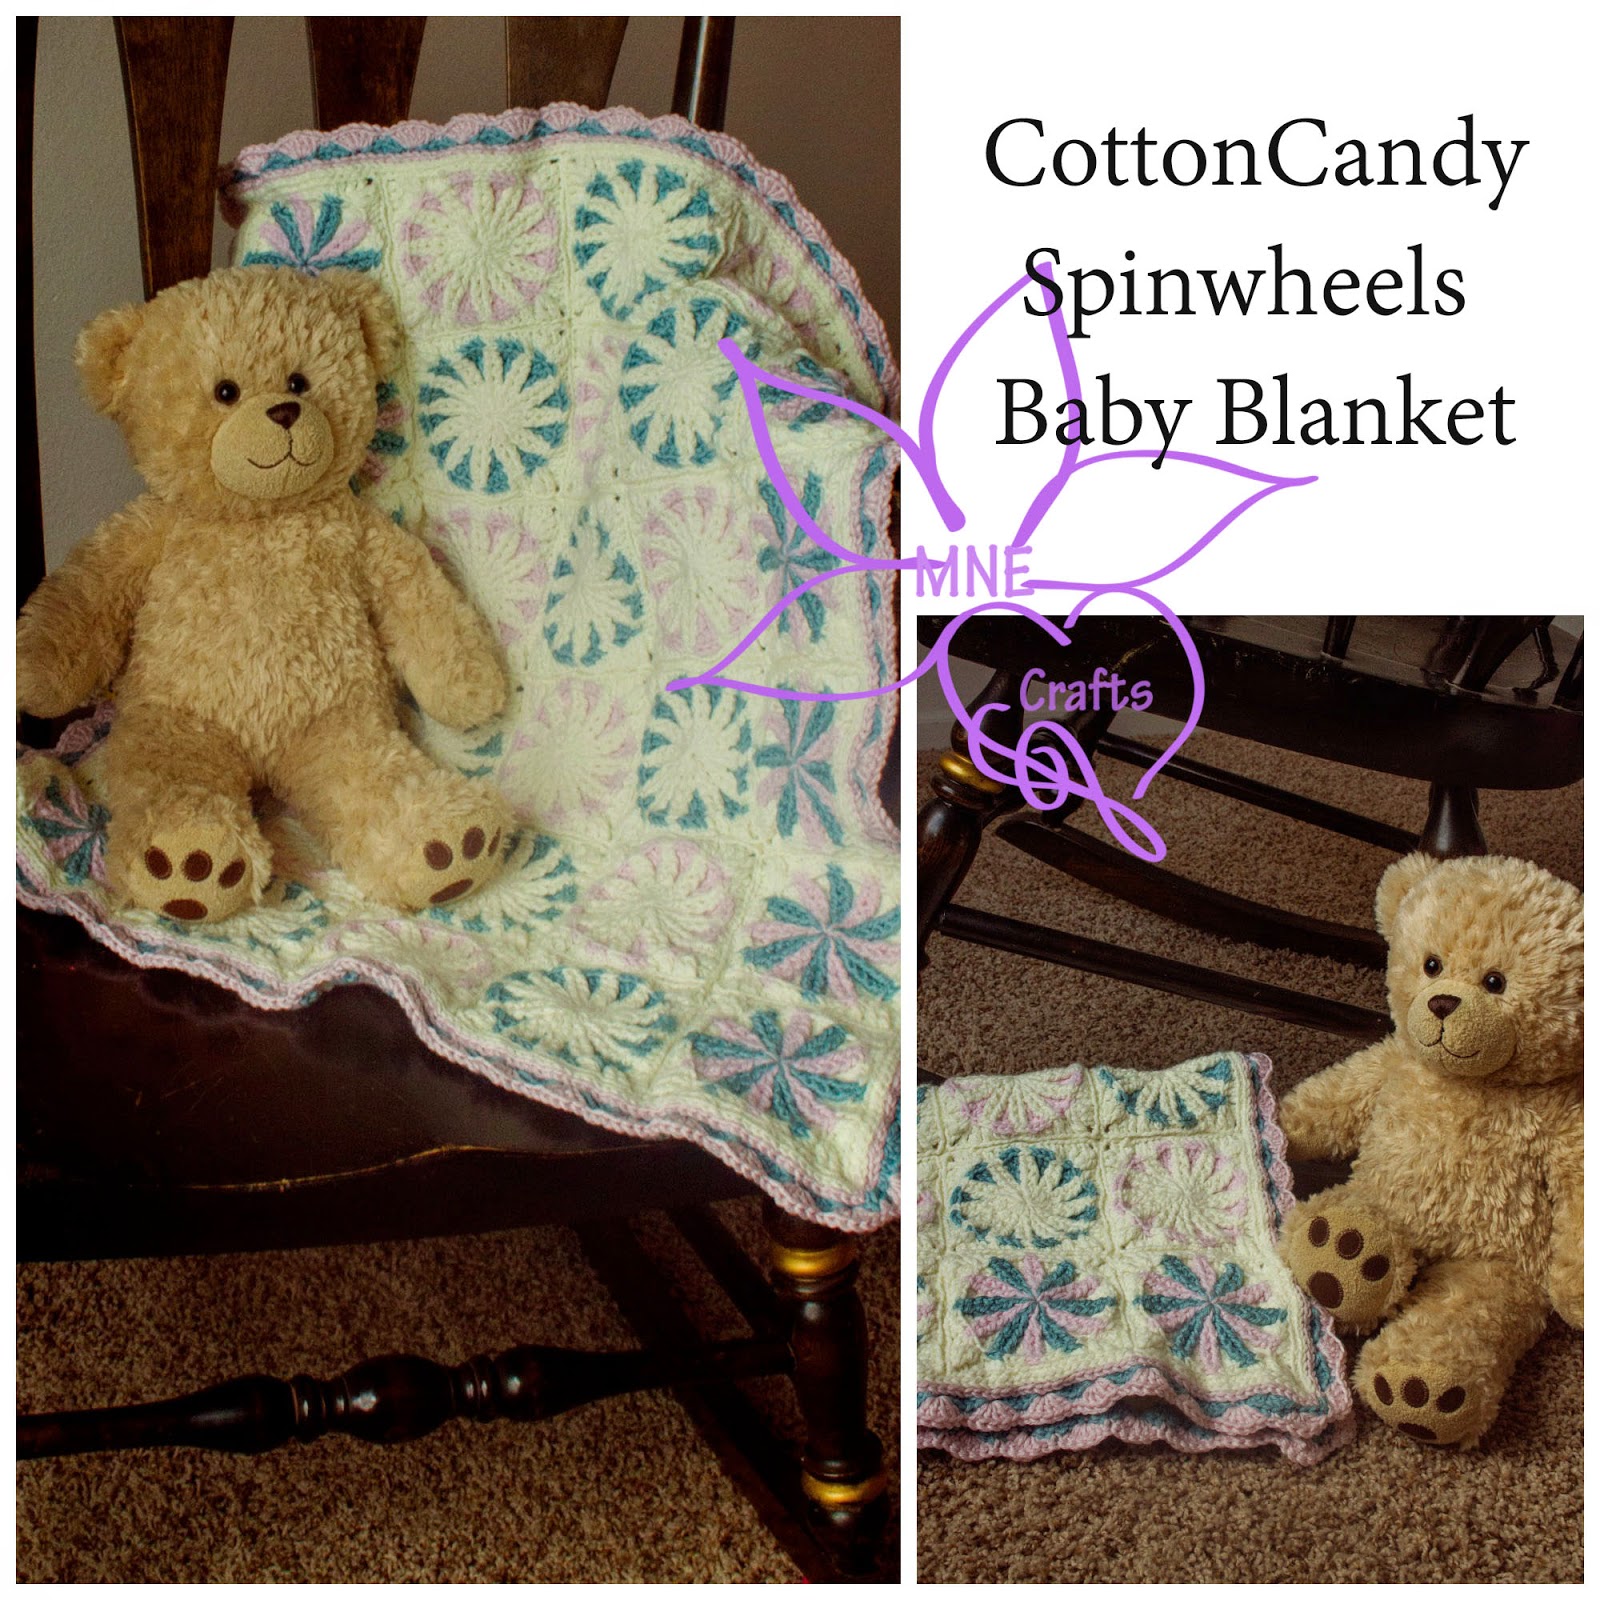
I started this little blanket late last night after one rough day as a momma. After several hours last night and then several hours this morning I had an adorable little baby blanket to show for the work!
This pattern (found HERE) was designed by Lauren at Daisy Cottage Designs and what a design it is! It worked up quickly and thrilled my three year old little girl. She even played a key part in helping with the blanket!
When I picked the colors I would use, I picked scrap yarn... which is another great thing about this pattern, it is perfect for some stash busting!... and the purple had only a few inches left as I finished the last purple square. As I started on the border I used yellow... then the blue... and realized if I did the border in all four colors it would look perfect!! But I had run out of purple. I felt in my heart (if you crochet as much as I do you know what this means) that the purple was NOT gone. It was somewhere. If I had used it all... I would know it! After all, I had just made a design of my own last week using this yarn! And I didn't run out!
So, I recruited my husband to help me find it but our efforts did not reap a reward. So I start trimming all the ends figuring I would just explain to you all how amazing it would be with all four colors in the border and hope you all could imagine what I knew would have been amazing.
So, I recruited my husband to help me find it but our efforts did not reap a reward. So I start trimming all the ends figuring I would just explain to you all how amazing it would be with all four colors in the border and hope you all could imagine what I knew would have been amazing.
However, right before I grabbed my camera to start doing the pictures my three year old runs up to me "MOM, MOM!!! I found it... your purple is right here!!" and low and behold it was right there! It was in a separate container that my husband shoves all of my projects in. The butt forgot he put it there :p It was such an exciting mommy and daughter moment for us because it was the first time she HELPED me find something. She was so darn excited. I am just swelling up with momma pride over here. Plus she found the yarn I knew was not gone but lost so it was an extra happy moment... like the prodigal son had returned or something lol.
Anyways, I start the pink part of the border so the purple can be last and as I'm starting on the last edge I realize my pink ball is running dangerously low. Like... I started getting anxious. If you've ever run a marathon and you're right behind the person in first place and you just need a little more to get past him... I imagine it feels similar to that... I don't know because I prefer to crochet rather then run marathons. Anyways... it was a terrifying moment. What if I didn't have enough pink??! All of that work for nothing. Finding the purple... for nothing. It would have been disasterous. But something amazing happened!
I had JUST enough. Literally. Like, I didn't even have to trim the pink because so little was left. It was... scary.
As I recap over all of this I realize I might be in the wrong field because crochet is supposed to be relaxing and this was not relaxing. :p

Anyways... I guess I should get to the pattern now. The only change I made to this pattern was instead of a ch 2 between the petals I did a ch 3. For whatever reason, (perhaps my tension) it was curling really bad with just a ch 2. So I did a ch 3 and it worked perfect. Perfect I tell you!
Then I did a simple shell border. I did a close up of it so you can kind of see how I did it. :) This blanket worked up quickly and I wish I'd had the material and time to make it larger! In fact, I might go back and make another one with specific material. It really is that great of a pattern. :p
Then I did a simple shell border. I did a close up of it so you can kind of see how I did it. :) This blanket worked up quickly and I wish I'd had the material and time to make it larger! In fact, I might go back and make another one with specific material. It really is that great of a pattern. :p